Afternoon Tea Day Two - Pillow Box Tutorial | By Donna
Hello, everyone!
I'm back on Swedish House Crafts blog today with another picture tutorial. This time I'm going to show you how to make a pillow box to hold treats/small gift.
Here is a picture of my completed pillow box.

The papers are Maja Design 12" x 12" "Joyous Winterdays" Christmas Time. The Merry Christmas sentiment is Gummiapan. I stamped the sentiment onto white card, cut it out, and matted it onto a strip of design paper. The gold ribbon is from the store, and the white lace that I have adhered on top of the ribbon is from my stash.

I used the Roxstamp stitched circle die to cut the design paper, and stitched around the outside with a length of red embroidery thread. I stamped the Gummiapan Santa image onto Bristol board extra smooth cardstock, and cut it out using Gummiapan matching Santa die. I coloured the image with Polychromos pencils. Finally I used glamour dust on the pom pom of Santa's hat, and a thick coating of Snow-Tex for his beard.
On to the picture tutorial.

You will need; A score board or a scoring stylus. paper trimmer, card, pencil, ruler, scissors, glue or sticky tape, and a CD.

Cut a piece of card to measure 17cm x 17cm.

Position the card on the score board, and score at 1cm, and 9cm.
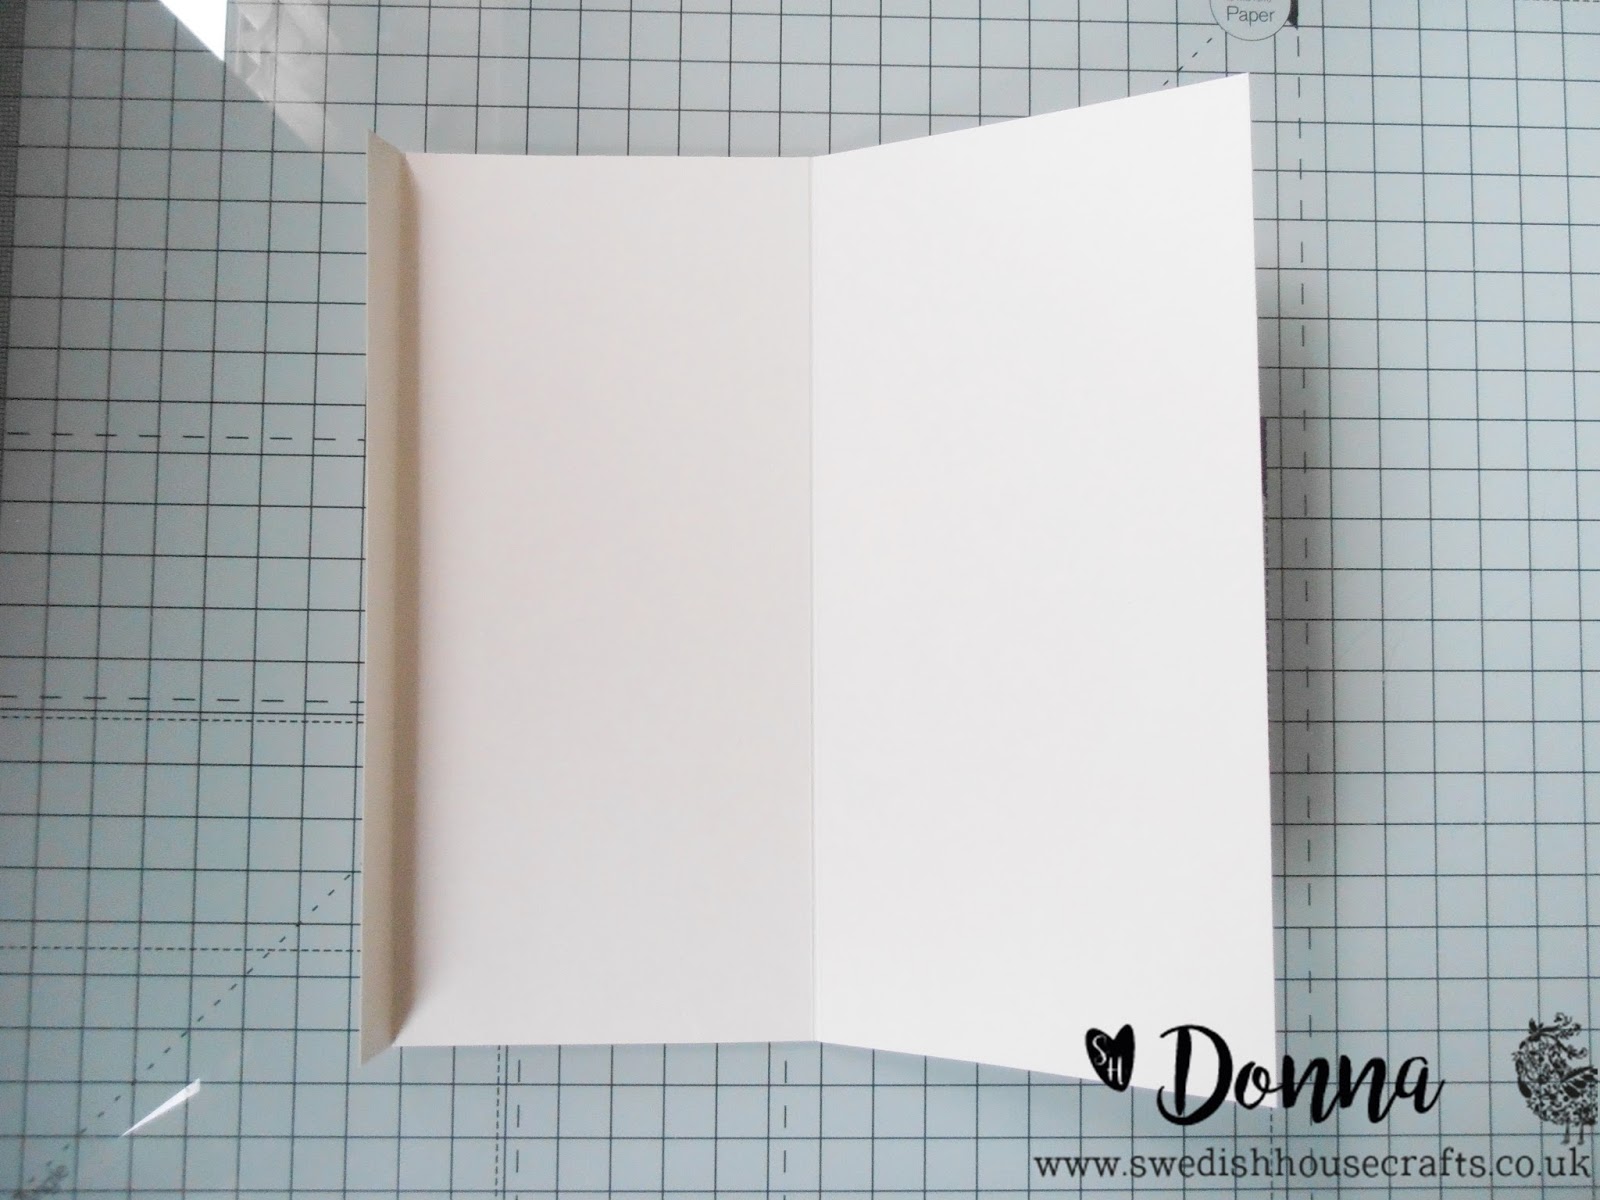
Fold in the score lines.

Fold over the card completely, ensuring the 1cm tab is inside.

Position the CD as shown above ensuring it's lined up, and with a pencil draw around it. You will need to do this both ends.

This is how it should look.

Cut around the pencil lines as shown above.

Open out the card and cut off the two edges around the score line.


To make four curved fold lines, position the CD so it overlaps where the centre score line and tab score line end.

This is what the four curved fold lines should look like.


With a pencil draw half circles ensuring they are central. You can do this by making a mark with a pencil half way from the centre score line. Around 4cm.

Cut around the the circle lines.

Fold the box in half, and adhere the tab with glue, making sure it's inside the box. When the tab is completely dry. Fold in the ends.

This is how the pillow box should look when completed.
I hope you'll feel inspired to have a go at making a pillow box?
Links to the products that I have used from the store can be found below.
I'll be back tomorrow with another tutorial.
You can find my blog HERE
Crafty hugs.

I hope you'll feel inspired to have a go at making a pillow box?
Links to the products that I have used from the store can be found below.
I'll be back tomorrow with another tutorial.
You can find my blog HERE
Crafty hugs.


1 comments
Wow !! That's such a great box ! Thanks for the great tutorial v!
ReplyDeleteIf you want to make someone happy today, what would you say? Leave a word to the team :D