Tilda In Wonderland | By Becky

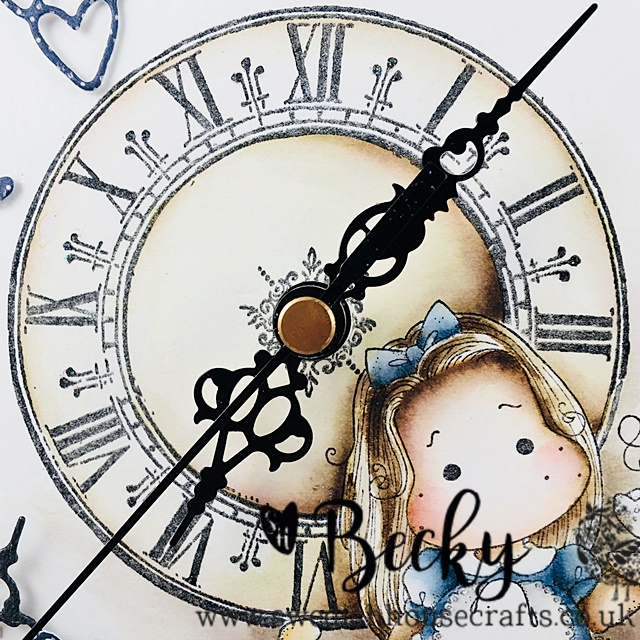
I've masked the two images together, first off I stamped TILDA IN WONDERLAND using a TIM HOLTZ STAMPING PLATFORM and making sure that the paper is flush to the edge, with the magnets in place as you don't want the paper to move. I then stamped the same Tilda to a post it note, making sure that I stamped where it is sticky. The next step was to cut around Tilda pretty much on the outline, and then stick this over the stamped Tilda. This is where the platform comes into its all; lay the image that you want to appear to be behind on top of Tilda in the place that you want, in this case it is the TILDA IN WONDERLAND CLOCK, close the lid to pick up the stamp, ink it up and then stamp. The beauty of this is if you need to add more ink then you can as your paper is firmly in place, and the stamp will stamp in the exact same place again.
I have coloured Tilda in with distress reinkers, to match the papers from Maja Design, I have used several sheets from the DENIM & FRIENDS 6x6 PAPER PAD, I mean she had to be in blue, right?
I have also used distress reinkers on the CLOCK but mailny for shadow and to make it look old.
I have cut a BACKGROUND HEARTS DOOHICKEY in two, and had it overhang the image here...
Because of the hands of the clock going round I was a bit restricted as to what I could put on the rest of the canvas, I can't put nothing on, CAS isn't my style, lol, so I used the dies that come with the CLOCK and popped a pearl on too. I have also kept the hearts from the DOOHICKEY and dotted them around the canvas too.
Thank you for stopping by,
Hugs,
Becky xx


0 comments
If you want to make someone happy today, what would you say? Leave a word to the team :D